Essential Steps for Creating the Ideal Environment for Seed Germination and Growth
Introduction: Why Seed Germination Matters
Seed germination is the critical first step in a plant’s life cycle, setting the stage for healthy growth and abundant yields. Creating the ideal environment for seeds is essential whether you’re starting flowers, vegetables, or native species. Understanding and implementing the right conditions ensures that seeds transition from dormancy to vigorous seedlings, maximizing success for gardeners, farmers, and horticulturists alike. [1]
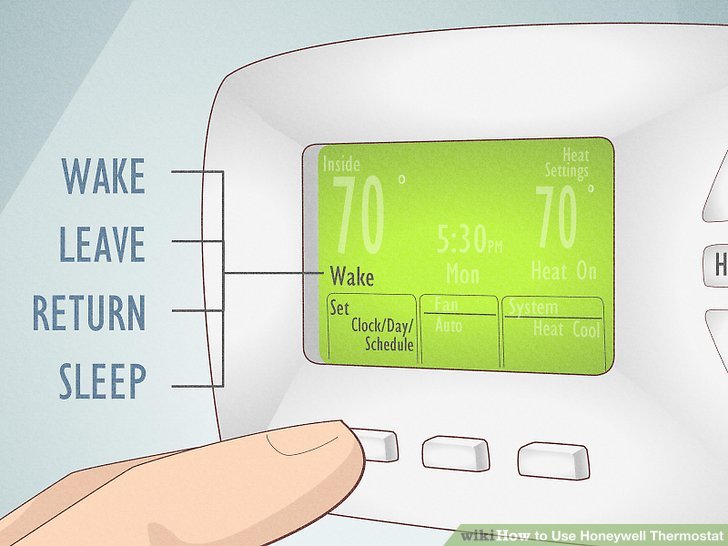
Step 1: Temperature Control
Temperature significantly influences both seed germination and seedling development. Each plant species has a preferred temperature range. Most seeds germinate efficiently between 68°F and 86°F , with the optimal seedling growth occurring about 10°F cooler. [2] For example, studies show that 20°C (68°F) is often optimal for a wide variety of horticultural seeds. [3] Temperatures outside the ideal range can cause seeds to remain dormant or result in weak, uneven germination.
Implementation: Use a soil thermometer to monitor temperature. For indoor starts, utilize heat mats or locate trays in warm areas. Outdoors, planting during seasonal windows matching temperature requirements is key.
Example: Tomato seeds germinate best at 75°F, while lettuce prefers cooler conditions around 65°F.
Challenges: Fluctuating outdoor temperatures may require additional protection, such as row covers or cold frames. Overheating can deactivate essential enzymes, while cold spells halt development. [3]

Source: byjus.com
Alternative Approaches: For species needing cold stratification (like apples), refrigerate seeds for several weeks before sowing. [4]
Step 2: Moisture Management
Seeds require a consistently moist-never soggy-environment to initiate germination. Water activates enzymes and breaks dormancy, starting cell expansion and growth. [2] Optimal moisture is typically 50-75% of soil field capacity. [1]
Implementation: Mist soil gently after sowing and cover with plastic wrap, bags, or domes to retain humidity. Remove covers as soon as sprouts appear to avoid fungal diseases and promote air circulation. [2]
Example: Using a seedling tray with a humidity dome can increase germination rates for peppers and herbs.
Challenges: Overwatering can suffocate seeds due to lack of oxygen, while underwatering halts growth. [3] Monitor soil daily, watering when the surface feels dry.
Alternative Approaches: For hard-coated seeds, pre-soak in water for 12-24 hours, or scarify (scratch) to enhance water uptake. [4]
Step 3: Oxygen Availability
Seeds and seedlings need oxygen for respiration. Well-aerated soil allows gas exchange, supporting root and shoot development. [1] Compacted or waterlogged soils restrict oxygen, impeding germination.
Implementation: Use light, loose soil or potting mixes. Avoid overwatering and ensure good drainage. Loosen garden beds before planting.
Example: Raised beds with compost-rich soil offer excellent aeration for carrots and beans.
Challenges: Heavy clay soils or poorly draining containers can suffocate seeds. Amend with organic matter or sand to improve structure.
Alternative Approaches: For container gardening, select mixes labeled for seed starting, which are formulated for optimal aeration.
Step 4: Light Considerations
Light requirements vary by species. Many seeds germinate best in darkness, while others (e.g., Begonia, Primula, Coleus) require light. [1] All seedlings, however, need ample light after emergence to prevent weak growth.
Implementation: Check specific seed packet instructions for light requirements when sowing. For light-demanding seeds, surface sow and use clear covers. For darkness-preferring seeds, bury at appropriate depth.
Example: Lettuce seeds need light, so sow them on the soil surface; beans require darkness, so cover them with soil.
Challenges: Insufficient light after sprouting causes leggy, fragile seedlings. Use grow lights or sunny windowsills for indoor starts.
Alternative Approaches: Outdoors, sow in areas with full or partial sunlight depending on species needs. [2]
Step 5: Seedbed Preparation and Seed-to-Soil Contact
A fine-textured, well-prepared seedbed is vital. Seeds must contact soil directly to absorb moisture and nutrients. [1]

Source: gardeningtips.in
Implementation: Till or loosen soil to a fine texture. Remove debris and break up clumps. Firm soil gently after sowing to ensure contact.
Example: Sowing grass seed on a freshly raked lawn with light rolling improves germination rates.
Challenges: Planting seeds too deeply can exhaust their stored energy before reaching the surface. [4] Follow packet guidance for depth.
Alternative Approaches: For very fine seeds, mix with sand for even distribution.
Step 6: Nutrient Management
While most seeds contain enough nutrients for initial growth, seedlings soon need external sources. Fertile soil supports strong development. [2]
Implementation: Use quality potting mixes with slow-release fertilizer. For garden beds, incorporate compost before sowing. Apply diluted liquid fertilizer every two weeks after true leaves appear.
Example: Peat-based mixes provide starter nutrition for tomatoes and peppers.
Challenges: Overfertilizing can burn young roots; always follow recommended rates.
Alternative Approaches: Organic gardeners may use worm castings or fish emulsion as gentle nutrient sources.
Step 7: Disease Prevention and Air Circulation
Young seedlings are vulnerable to fungal diseases like damping off. Proper air circulation and sanitation are essential. [2]
Implementation: Remove humidity domes after sprouting. Space seedlings adequately. Use sterilized containers and fresh soil mixes.
Example: Place a small fan nearby to gently circulate air around seed trays.
Challenges: High humidity and overcrowding promote disease. Monitor seedlings daily for signs of wilting or discoloration.
Alternative Approaches: If problems arise, treat with organic fungicides or adjust watering practices.
Accessing Expert Guidance and Resources
If you are seeking in-depth, personalized advice, consider contacting your local Cooperative Extension Service. They offer region-specific recommendations, troubleshooting, and educational materials. To locate your nearest office, search for “Cooperative Extension Service” plus your state name (e.g., “Cooperative Extension Service Texas”).
For general information on seed biology, moisture management, and plant health, explore authoritative university resources and government agencies. For example, Penn State Extension and Iowa State University Extension provide free articles, fact sheets, and expert contacts. [1] [2]
When uncertain about accessing specific products or advice, visit your local garden center, nursery, or agricultural supply store. Staff members can assist with seed selection, soil amendments, and growing supplies.
Key Takeaways
Providing the ideal environment for seed germination and growth involves careful management of temperature, moisture, oxygen, light, seedbed quality, nutrients, and disease prevention. Each step is crucial for transforming dormant seeds into robust seedlings. By following these strategies and utilizing local resources, you can maximize plant success in home gardens, farms, and landscapes.
References
MORE FROM mumsearch.com


